Walk In Shower Companies Troubleshooting Guide — Bathroom Pros
At Bathroom Pros, located in Brick Township, NJ, we understand that when it comes to walk-in showers, issues can arise that may disrupt your daily routine. Walk-in showers offer convenience and accessibility, but like any home fixture, they can encounter problems over time. Whether it’s a leak, inadequate water pressure, or improper drainage, it’s crucial to address these issues promptly. Our troubleshooting guide is designed to help homeowners diagnose and tackle common problems associated with walk-in showers, ensuring you can enjoy your bathroom oasis without interruptions. This guide is particularly beneficial for those who have opted for a walk-in shower from one of the many walk-in shower companies in Brick Township, NJ. By knowing the symptoms of potential issues, you can take proactive steps or determine when it’s time to call in the professionals. Let’s delve into the common problems, possible causes, and remedies to keep your walk-in shower functioning beautifully and safely.
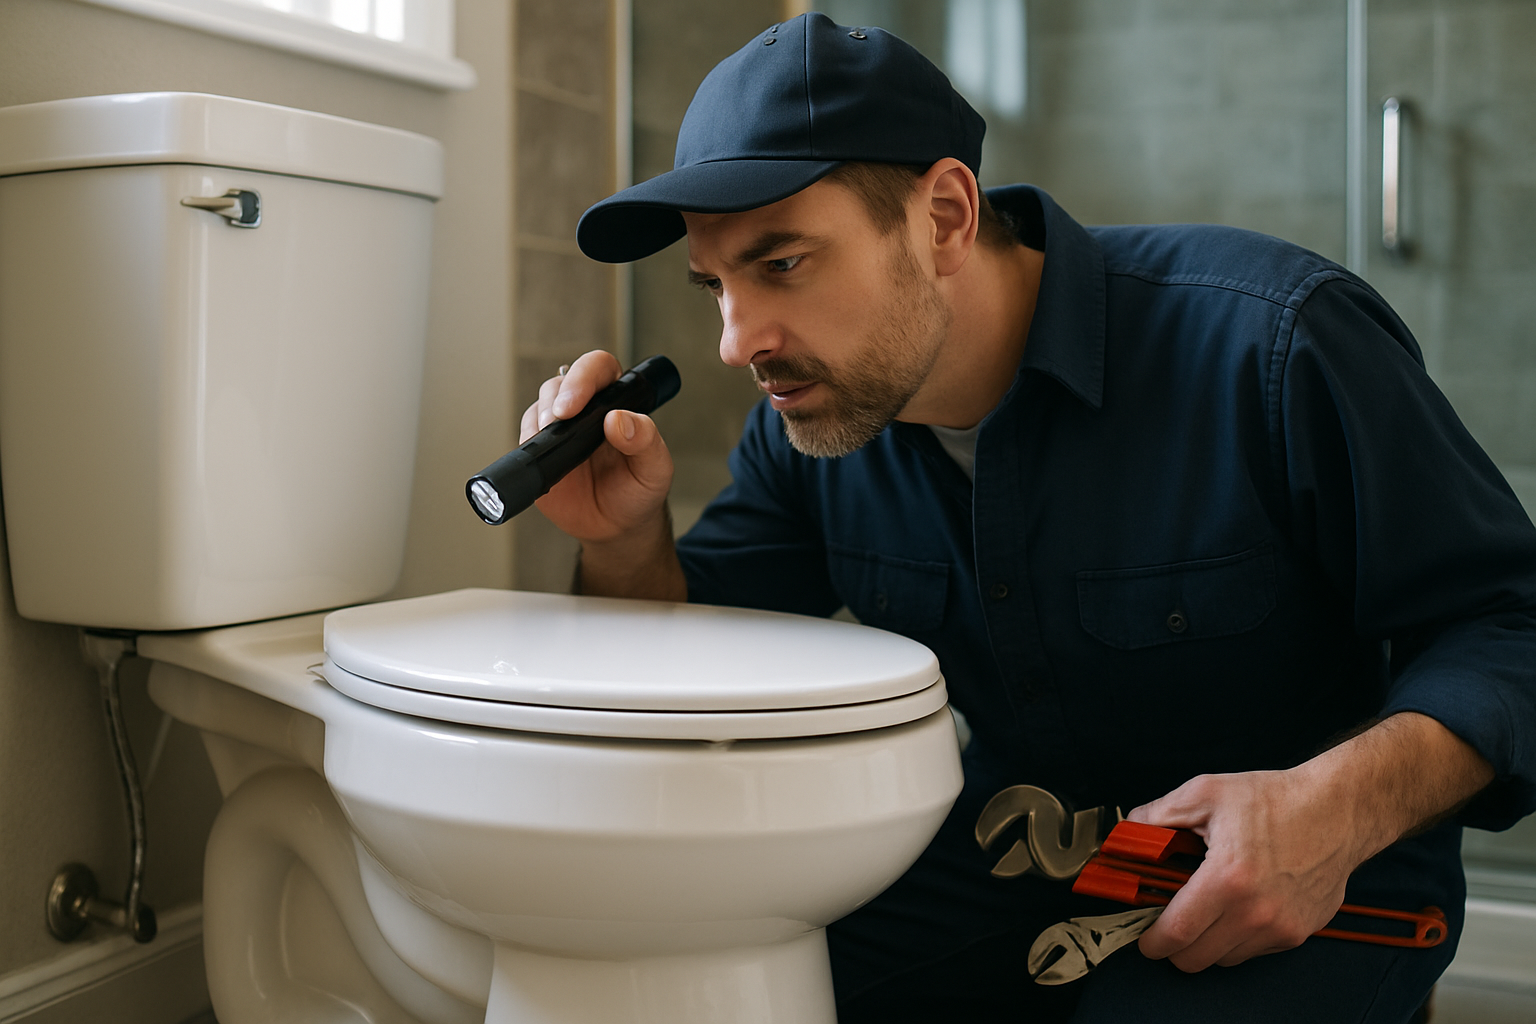
Identify the Problem
Match your symptoms to the most likely cause. Severity ratings help you decide how urgently to act.
Step-by-Step Action Plan
Follow these steps before calling a technician — you may be able to resolve the issue yourself.
Identify the Problem
Start by observing the symptoms. Is there pooling water, low pressure, or any noticeable leaks? Taking notes can help you pinpoint the issue.
Check for Blockages
Inspect the drain for any visible blockages. Remove any hair or debris that may be causing drainage issues.
Inspect Fixtures
Examine the faucet and showerhead for any signs of leaks or damage. Ensure all connections are tight and secure.
Evaluate Water Pressure
Test the water pressure by running the shower. If it’s low, check the main valve and the showerhead for blockages.
Assess Ventilation
Ensure that your bathroom is properly ventilated to prevent mold and mildew. Consider installing or using an exhaust fan.
Call a Professional
If the issue persists or if you find significant damage, it’s best to contact a professional walk-in shower company like Bathroom Pros for expert assistance.
Don't DIY These Situations
Some repairs require a licensed technician for safety, code compliance, and warranty protection.
If you encounter significant plumbing issues that require re-routing of pipes.
When the waterproofing layer is compromised, leading to potential water damage.
If there are structural concerns, such as cracks in the shower base that affect stability.
When you are unable to resolve persistent mold issues despite DIY efforts.
If your walk-in shower design requires complex modifications that exceed basic repairs.
What should I do if my walk-in shower leaks?
How can I improve water pressure in my walk-in shower?
What causes mold in my walk-in shower?
Is it necessary to reseal my walk-in shower regularly?
We Can Fix It For You
Our licensed team serves Brick Township, NJ and surrounding areas — same-day service available.
Problem Solved — Or Need a Pro?
Our licensed team serves Brick Township, NJ and surrounding areas. Get a free diagnosis — no obligation.